Plyprinting, for Fun and Profit
On the embedded knowledge in everyday objects, and applying ply to PLA!

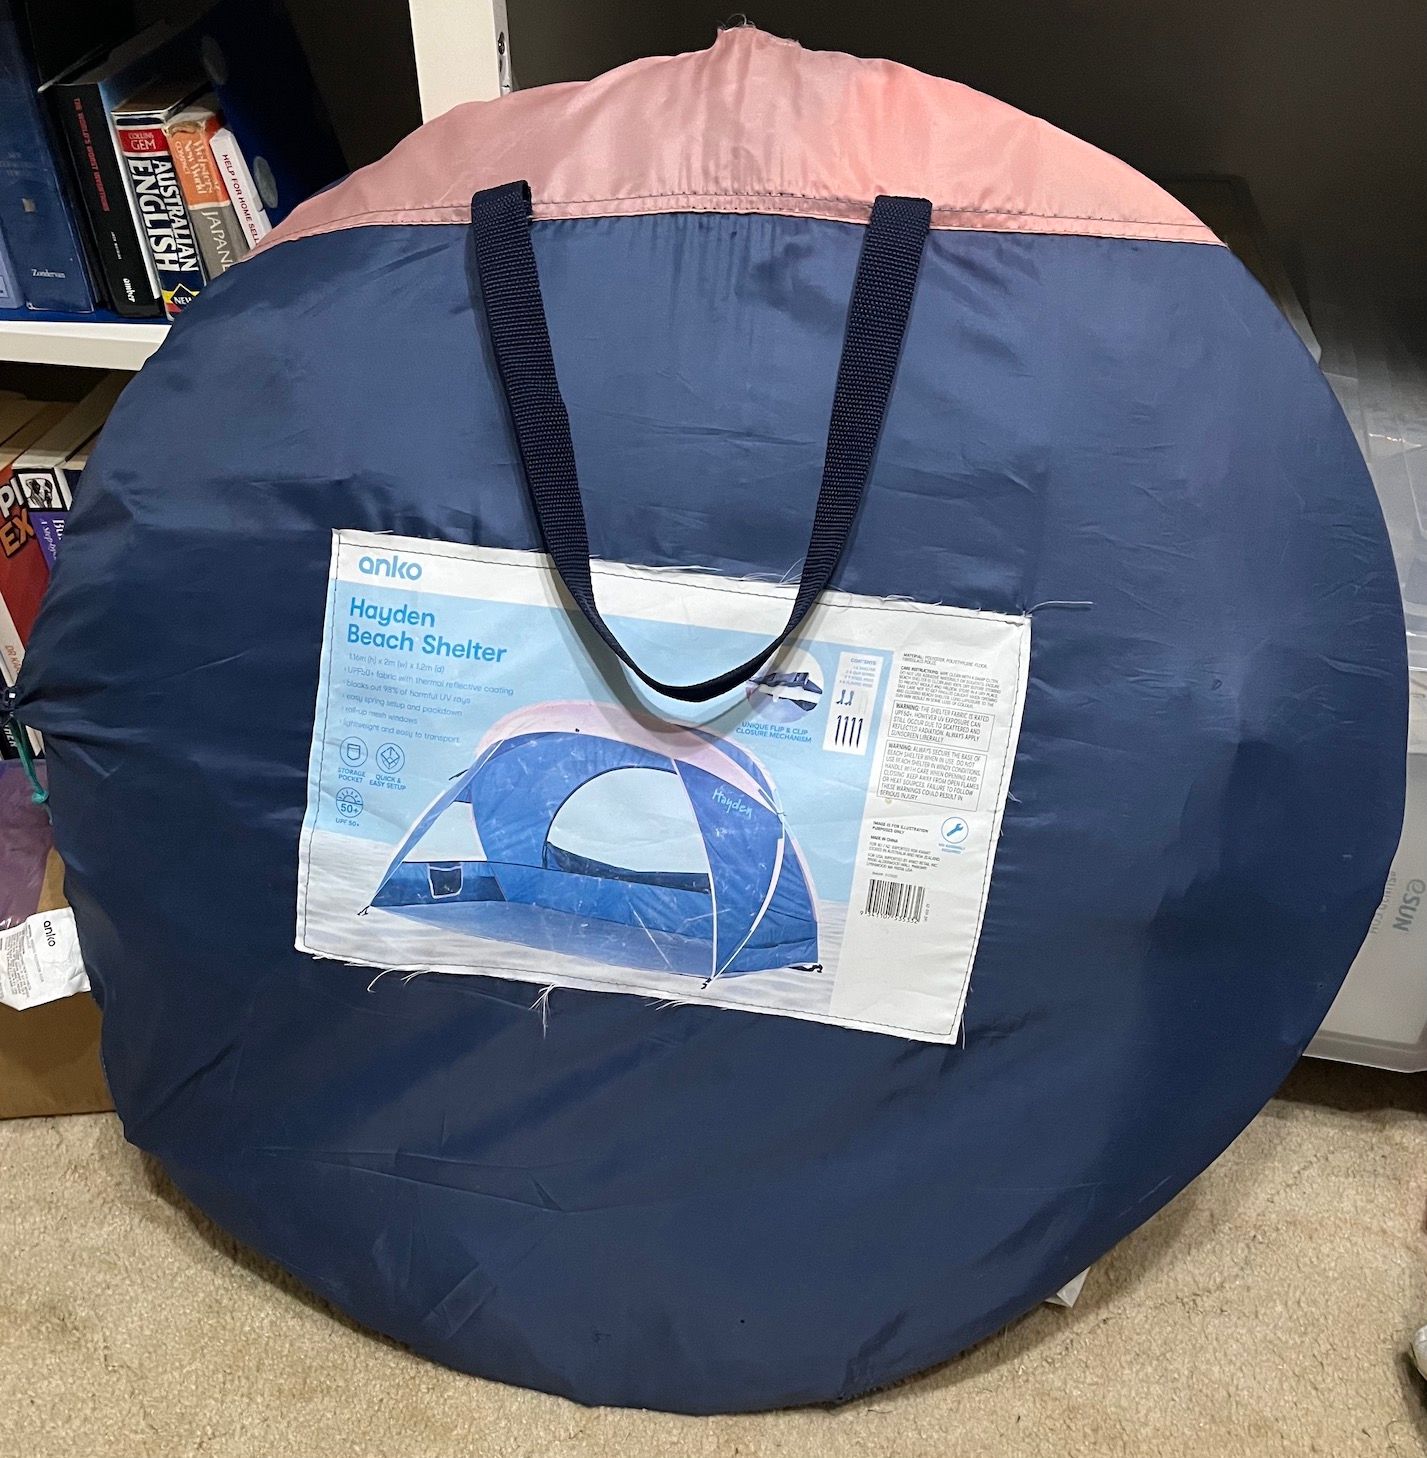
It all started with Ned Kelly in a straitjacket.
Apart from making me giggle, this is also my periodic reminder that lurking within some forgettable $50 K-Mart capitalist wonder, is the carefully applied expertise of designers and engineers.
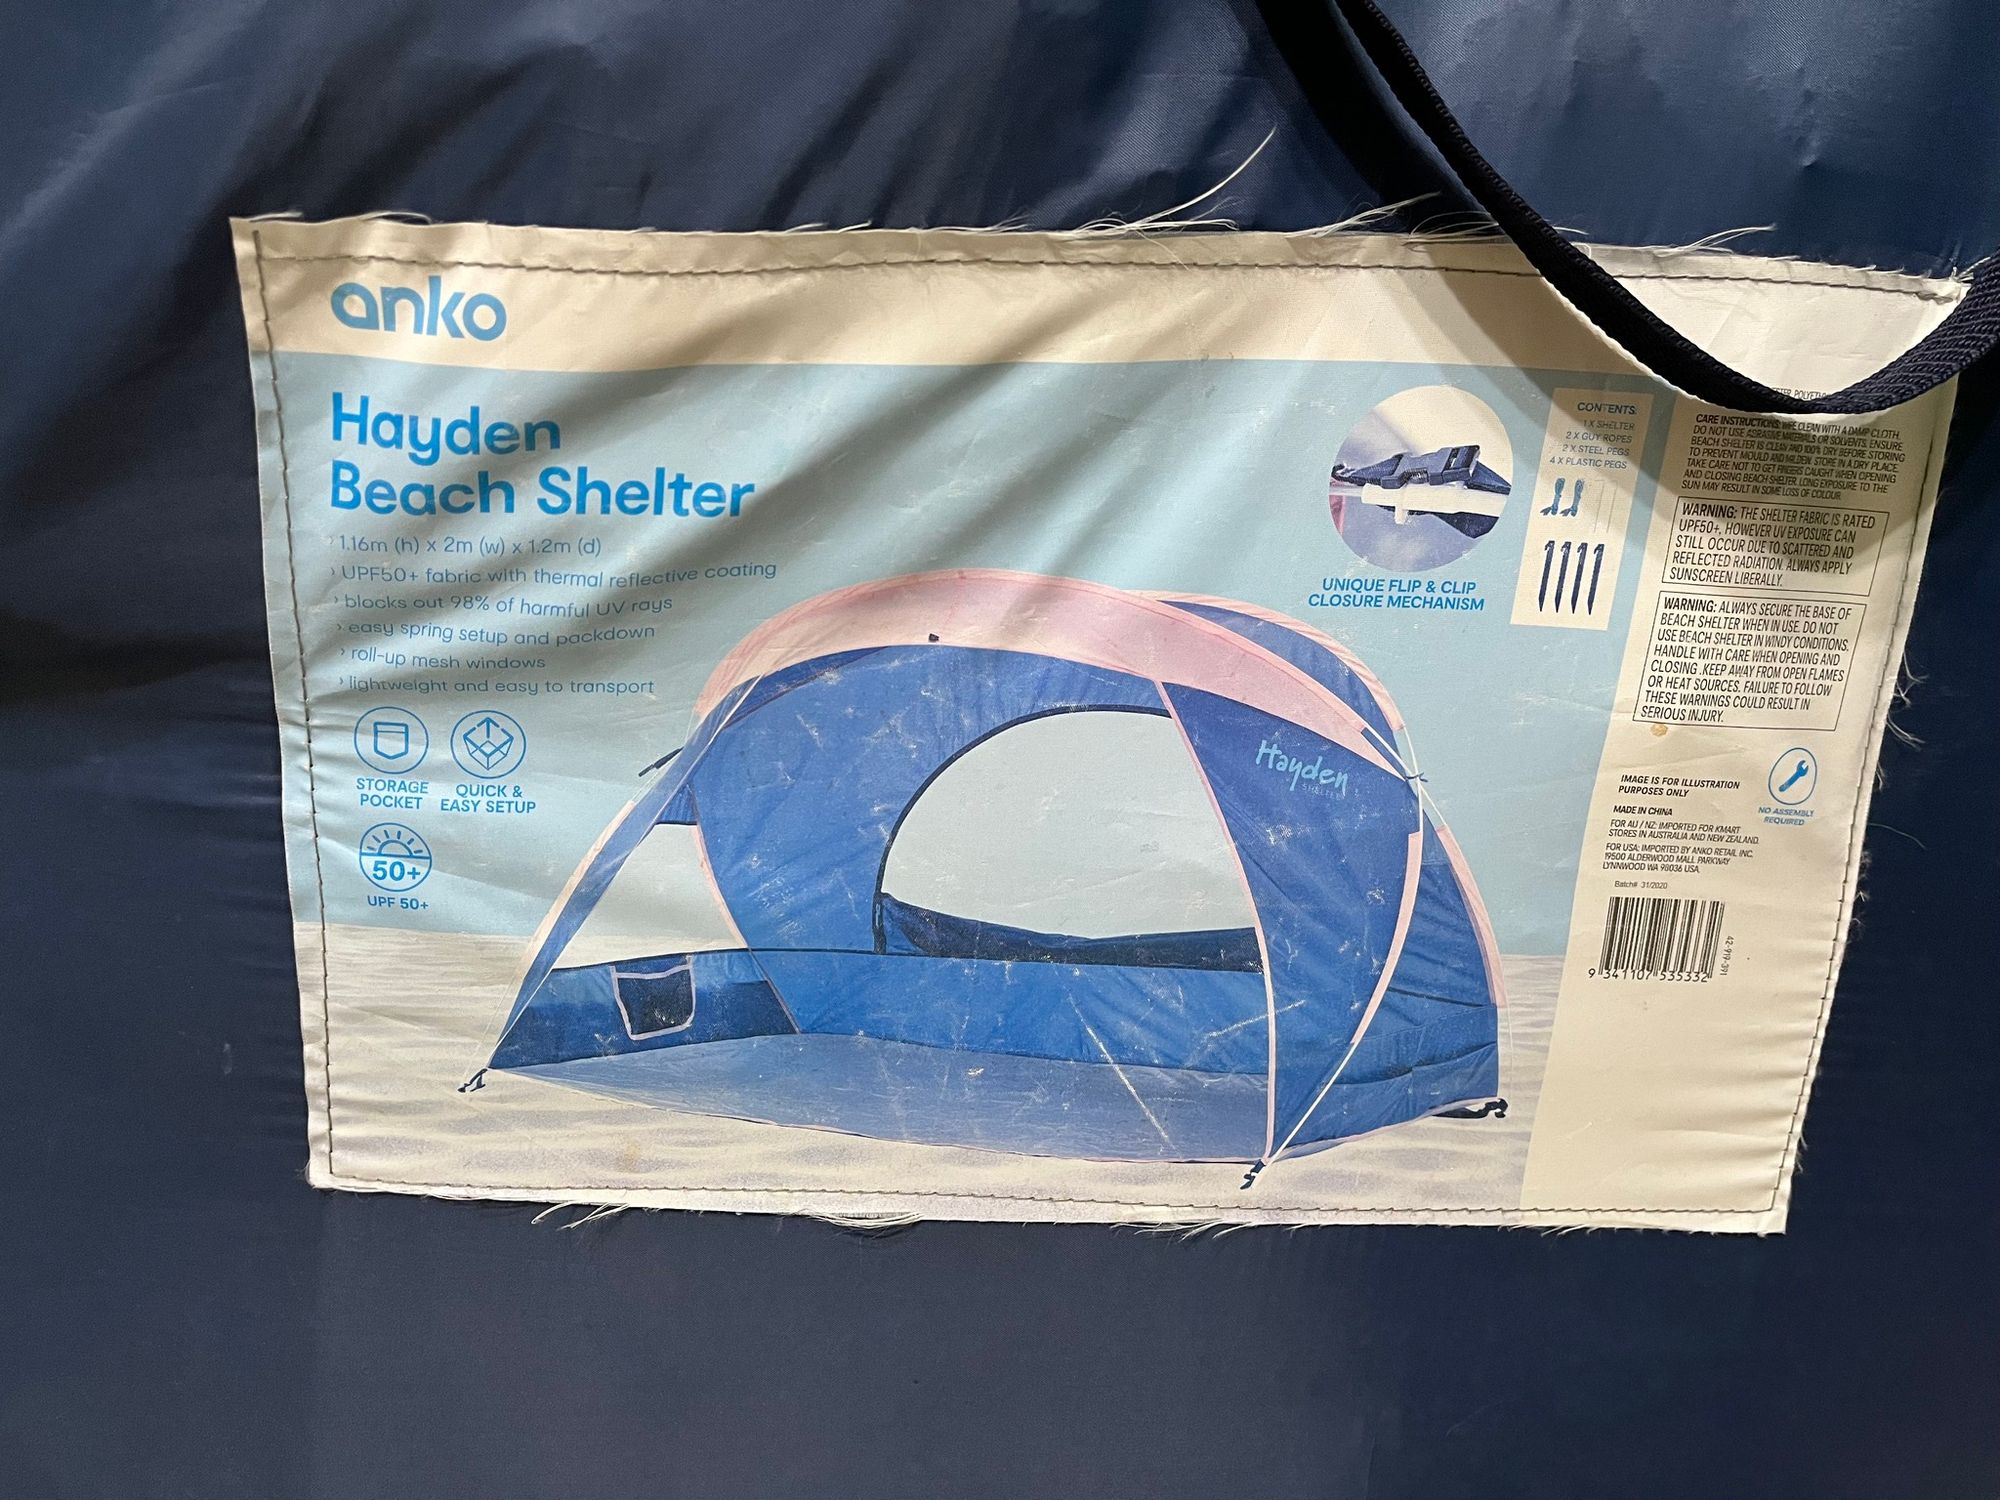
These rod ends are both tapered and slightly curved, resist some frightening coiled tension, and do what turns out to be a pretty intricate job. Until they snap. Then the tent is impossible to fold away without them. Just picture two adults wrestling uncooperative springs into a zippered bag, that muster their most defiant force just as the zipper starts to move, and the springs winning every time.
Such unassuming brillance. Isn't the world marvellous? The throw-away consumer goods culture takes the edge off it for sure, but it's impressive what feats of design and manufacture lurk within everyday objects. My 3D printer and I think we can make it even better... or at least learn something in the process.
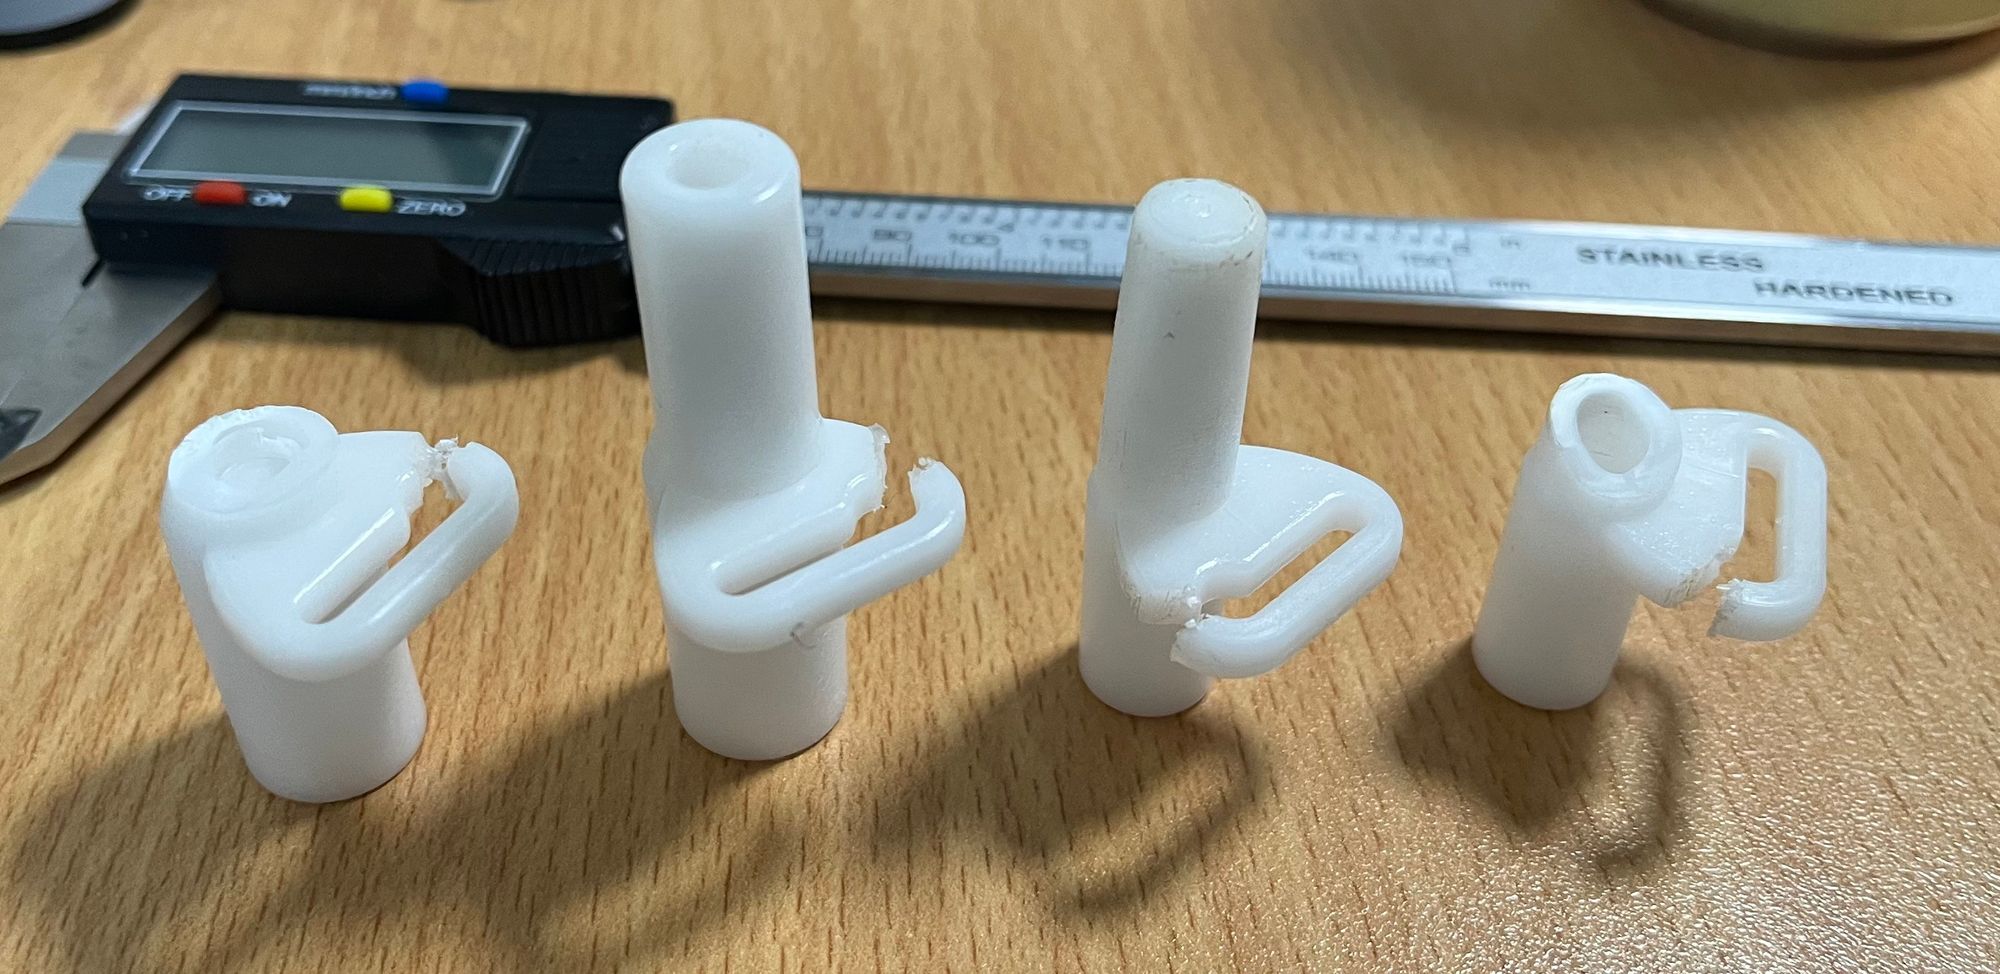
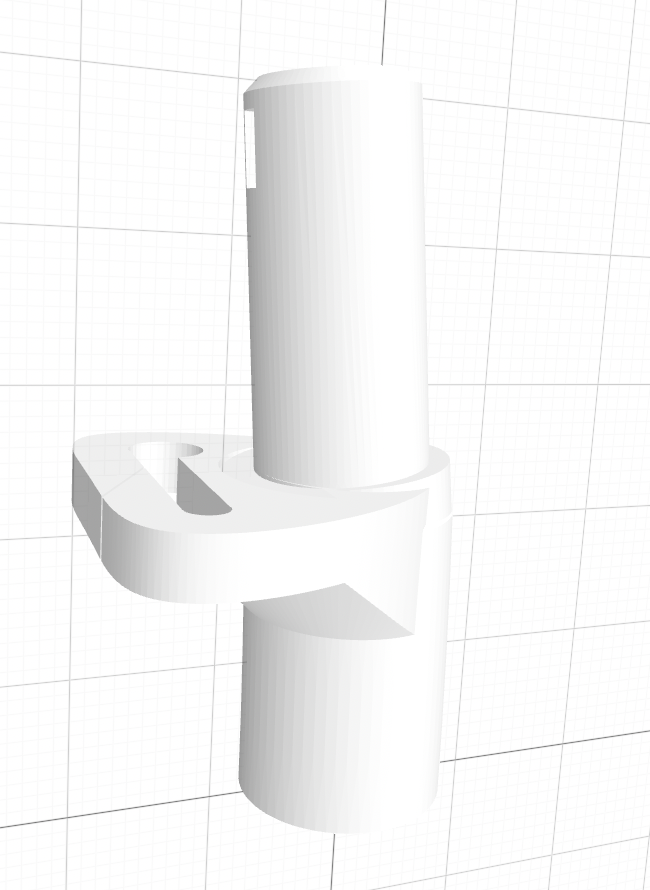
Studying the design enough to recreate the essential features, I realise just how intricate these things are. After a couple of iterations to dial in the fit and finish, I'm starting to get Fantasia vibes.
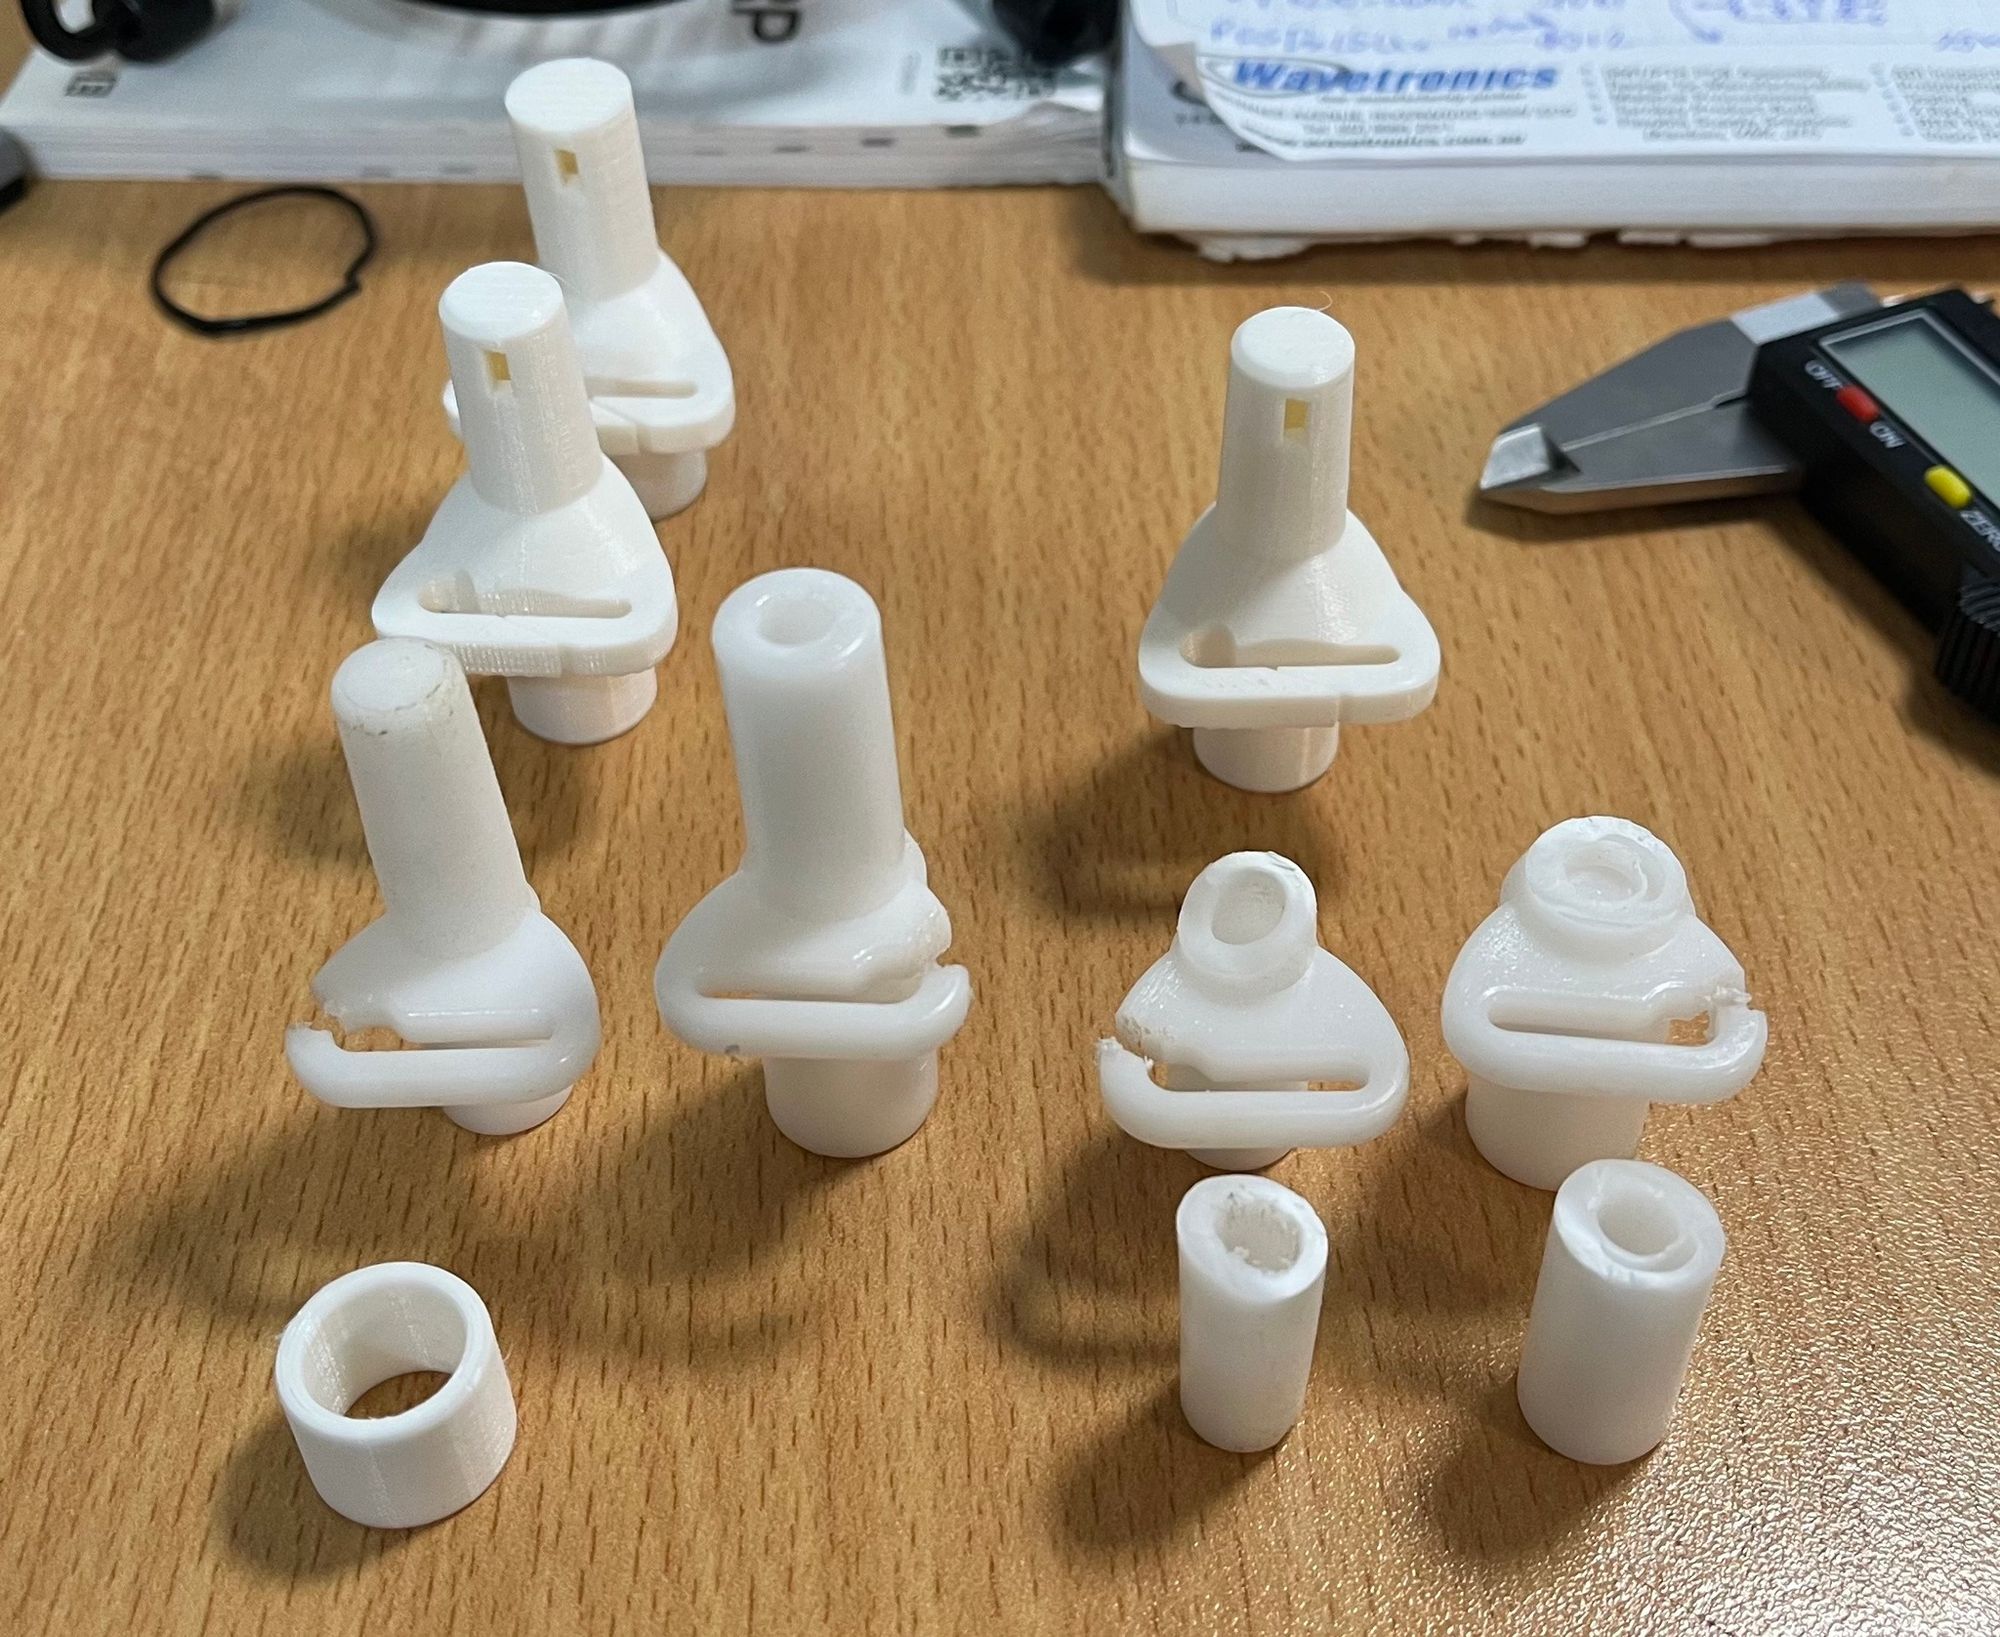
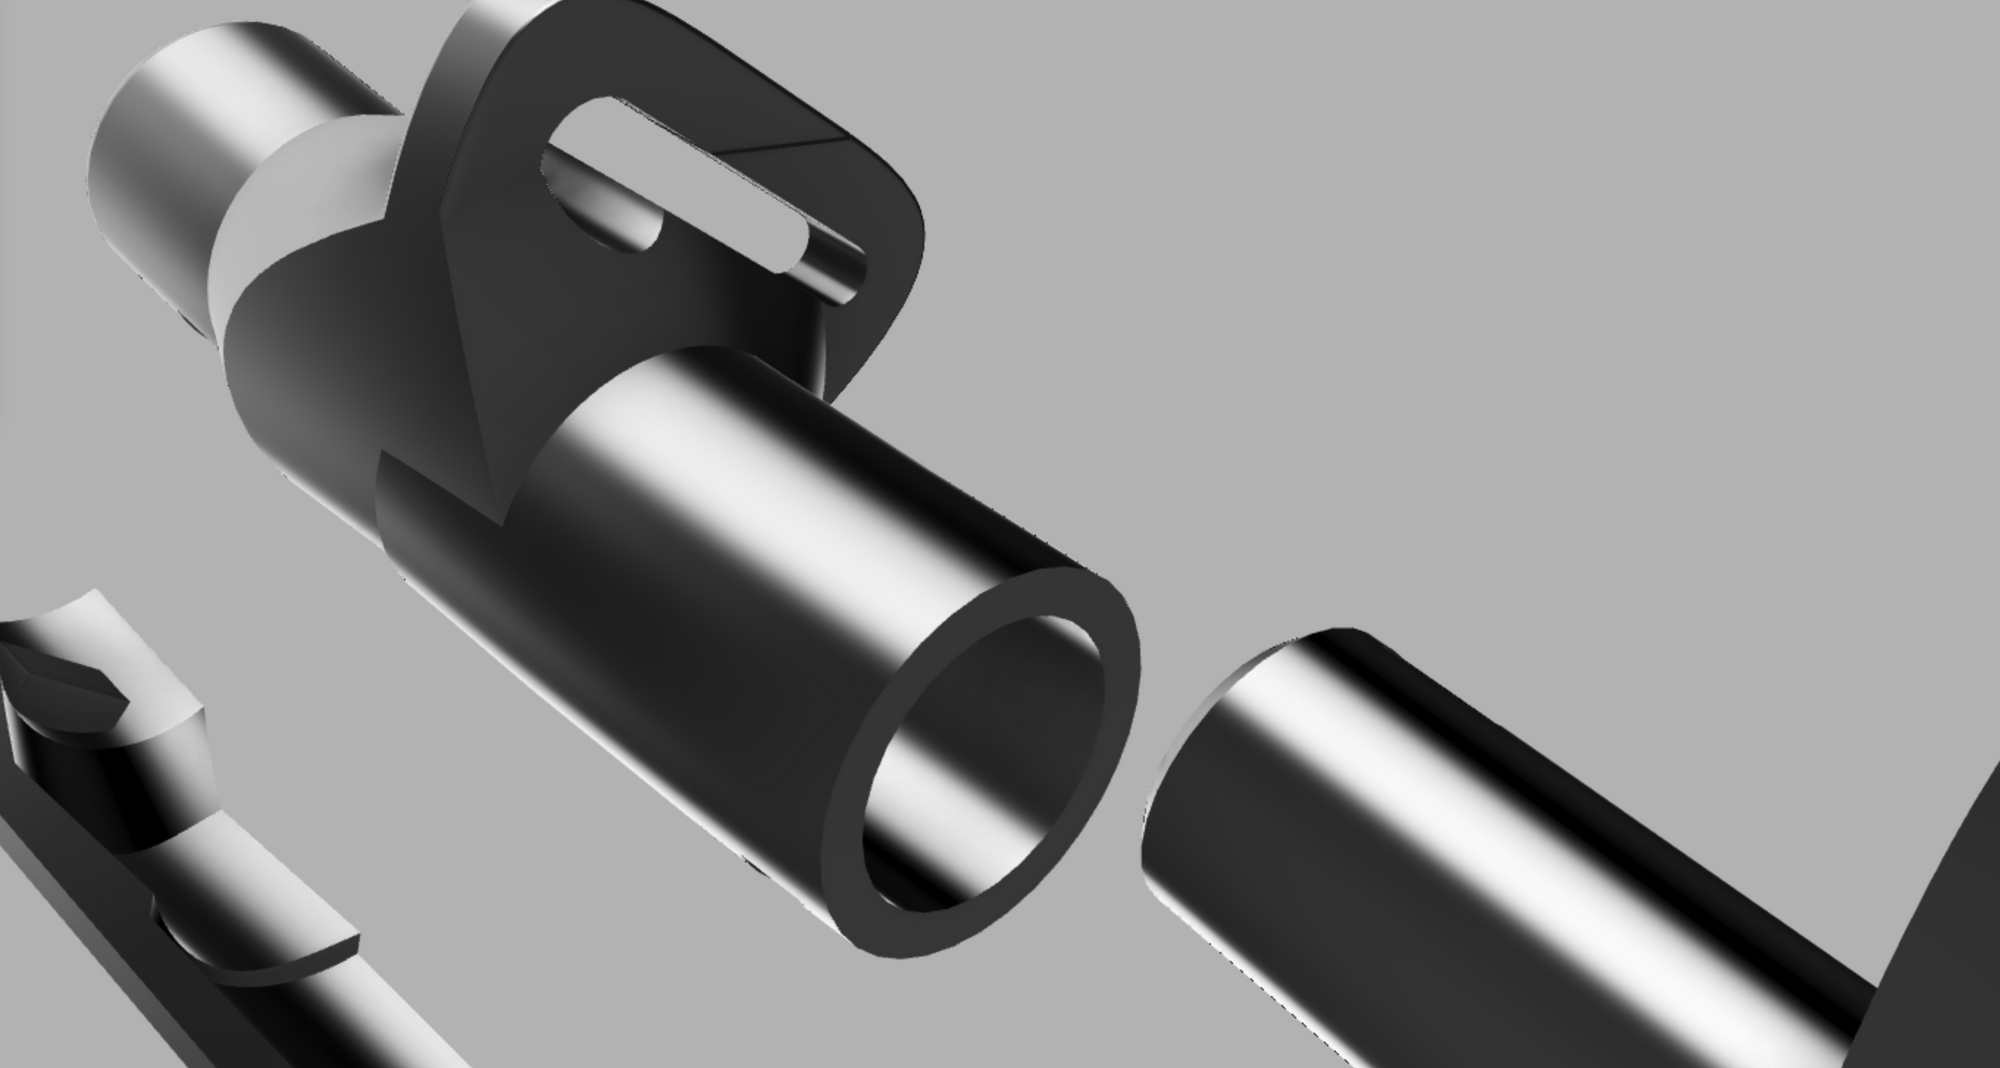
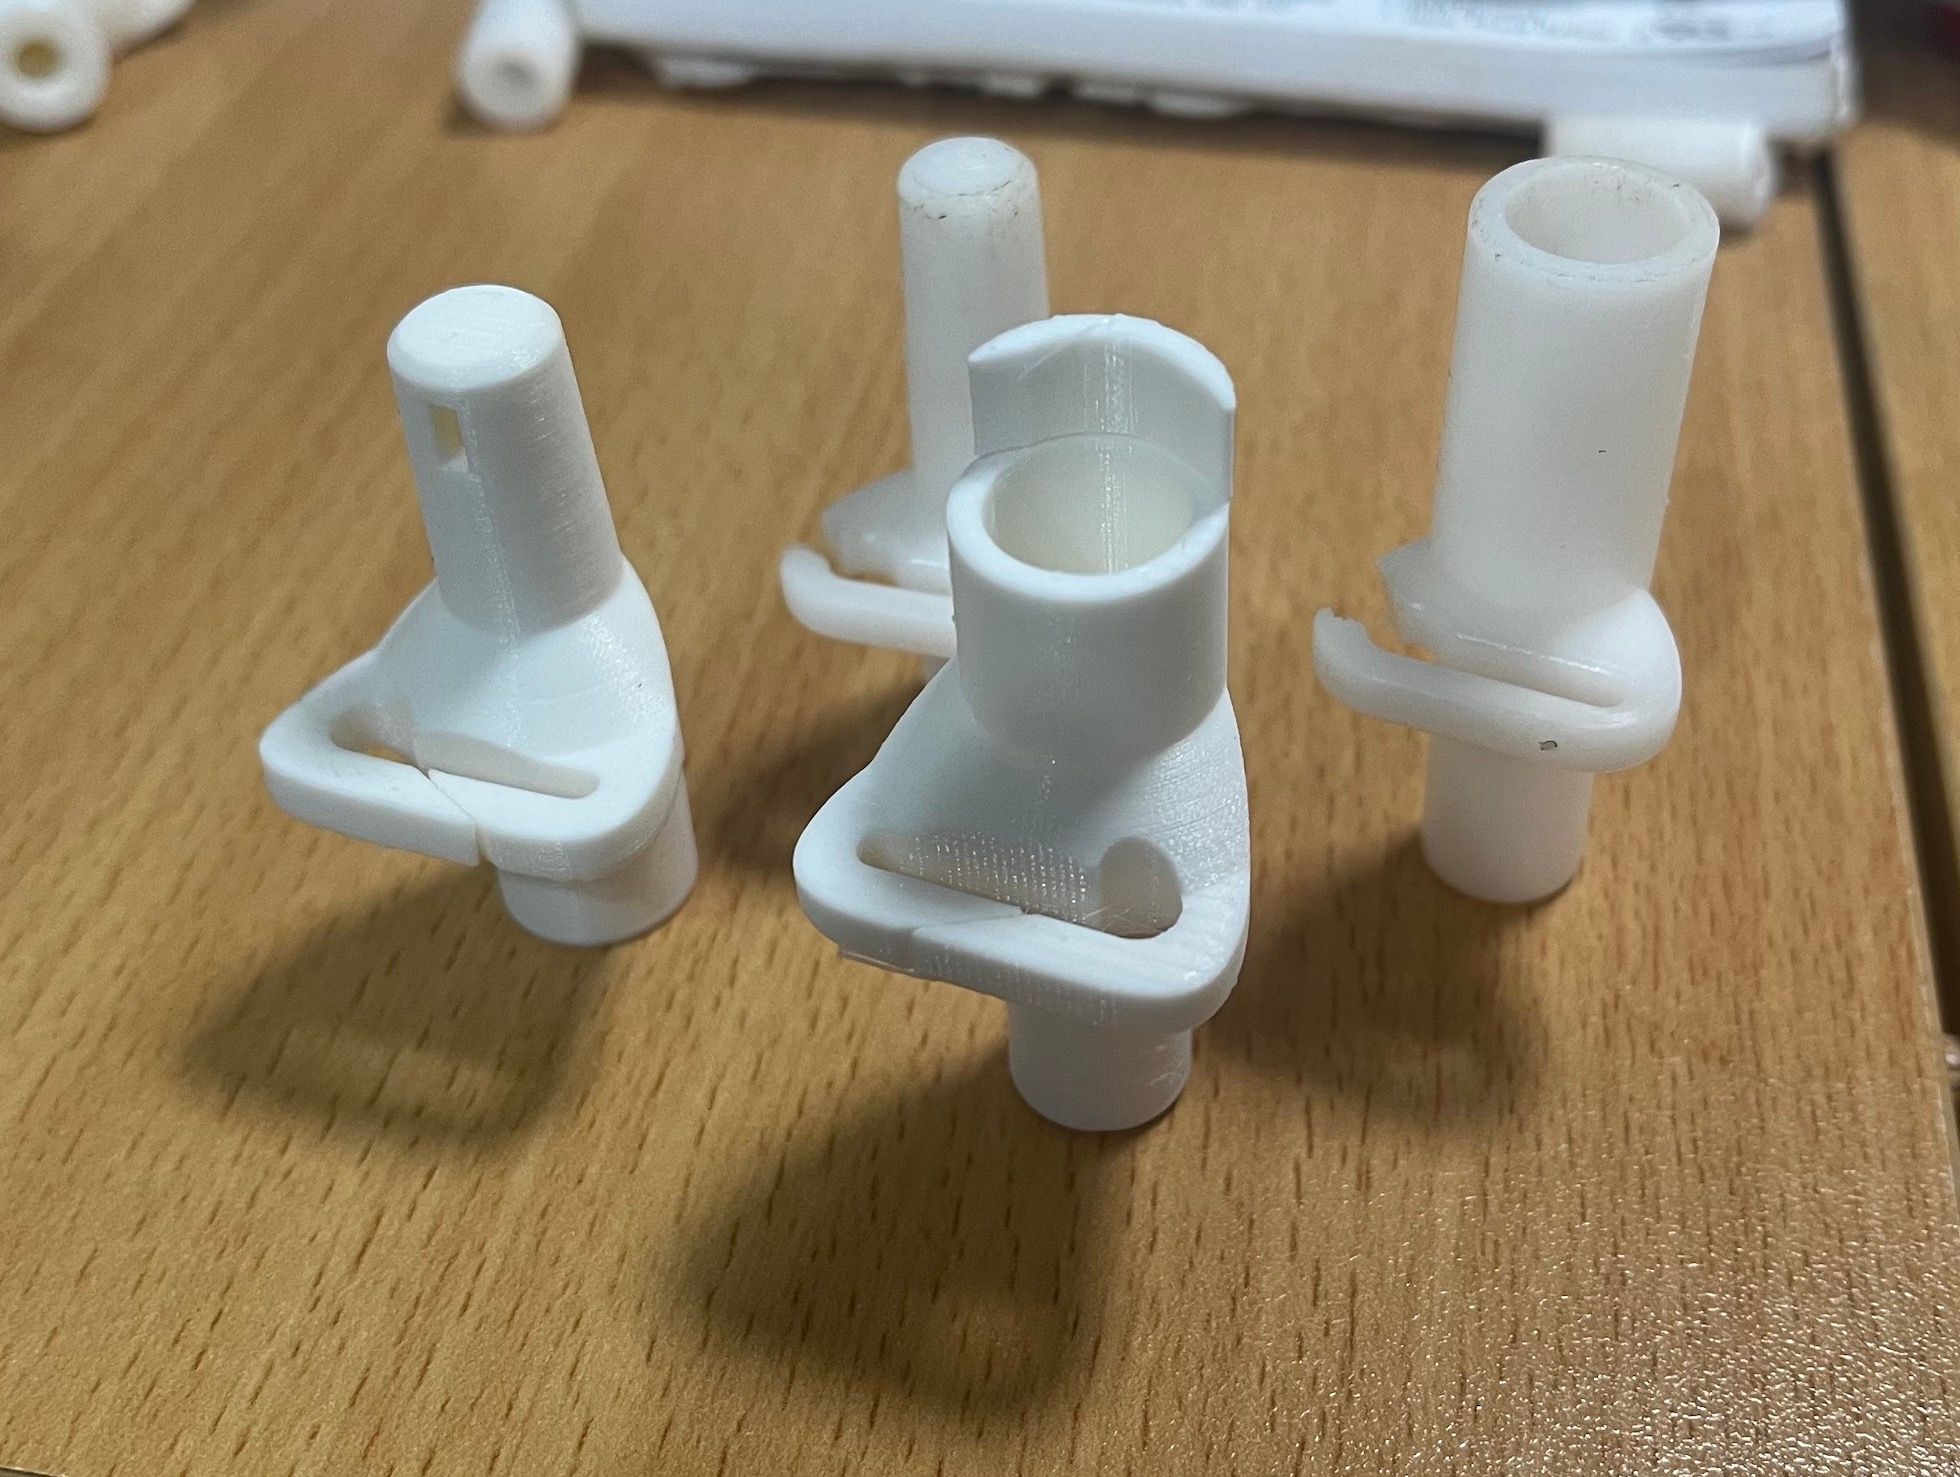
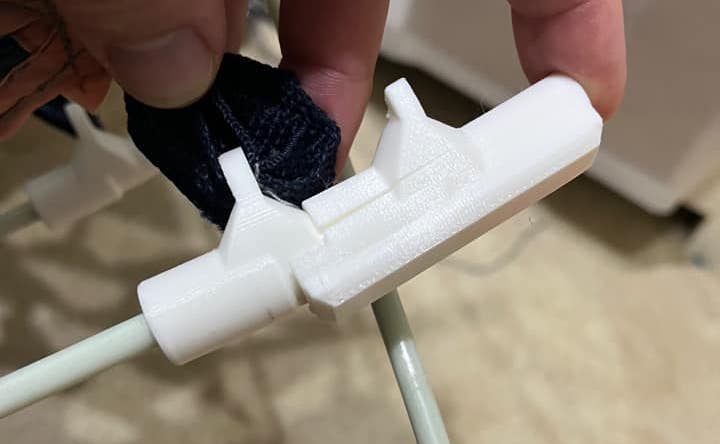
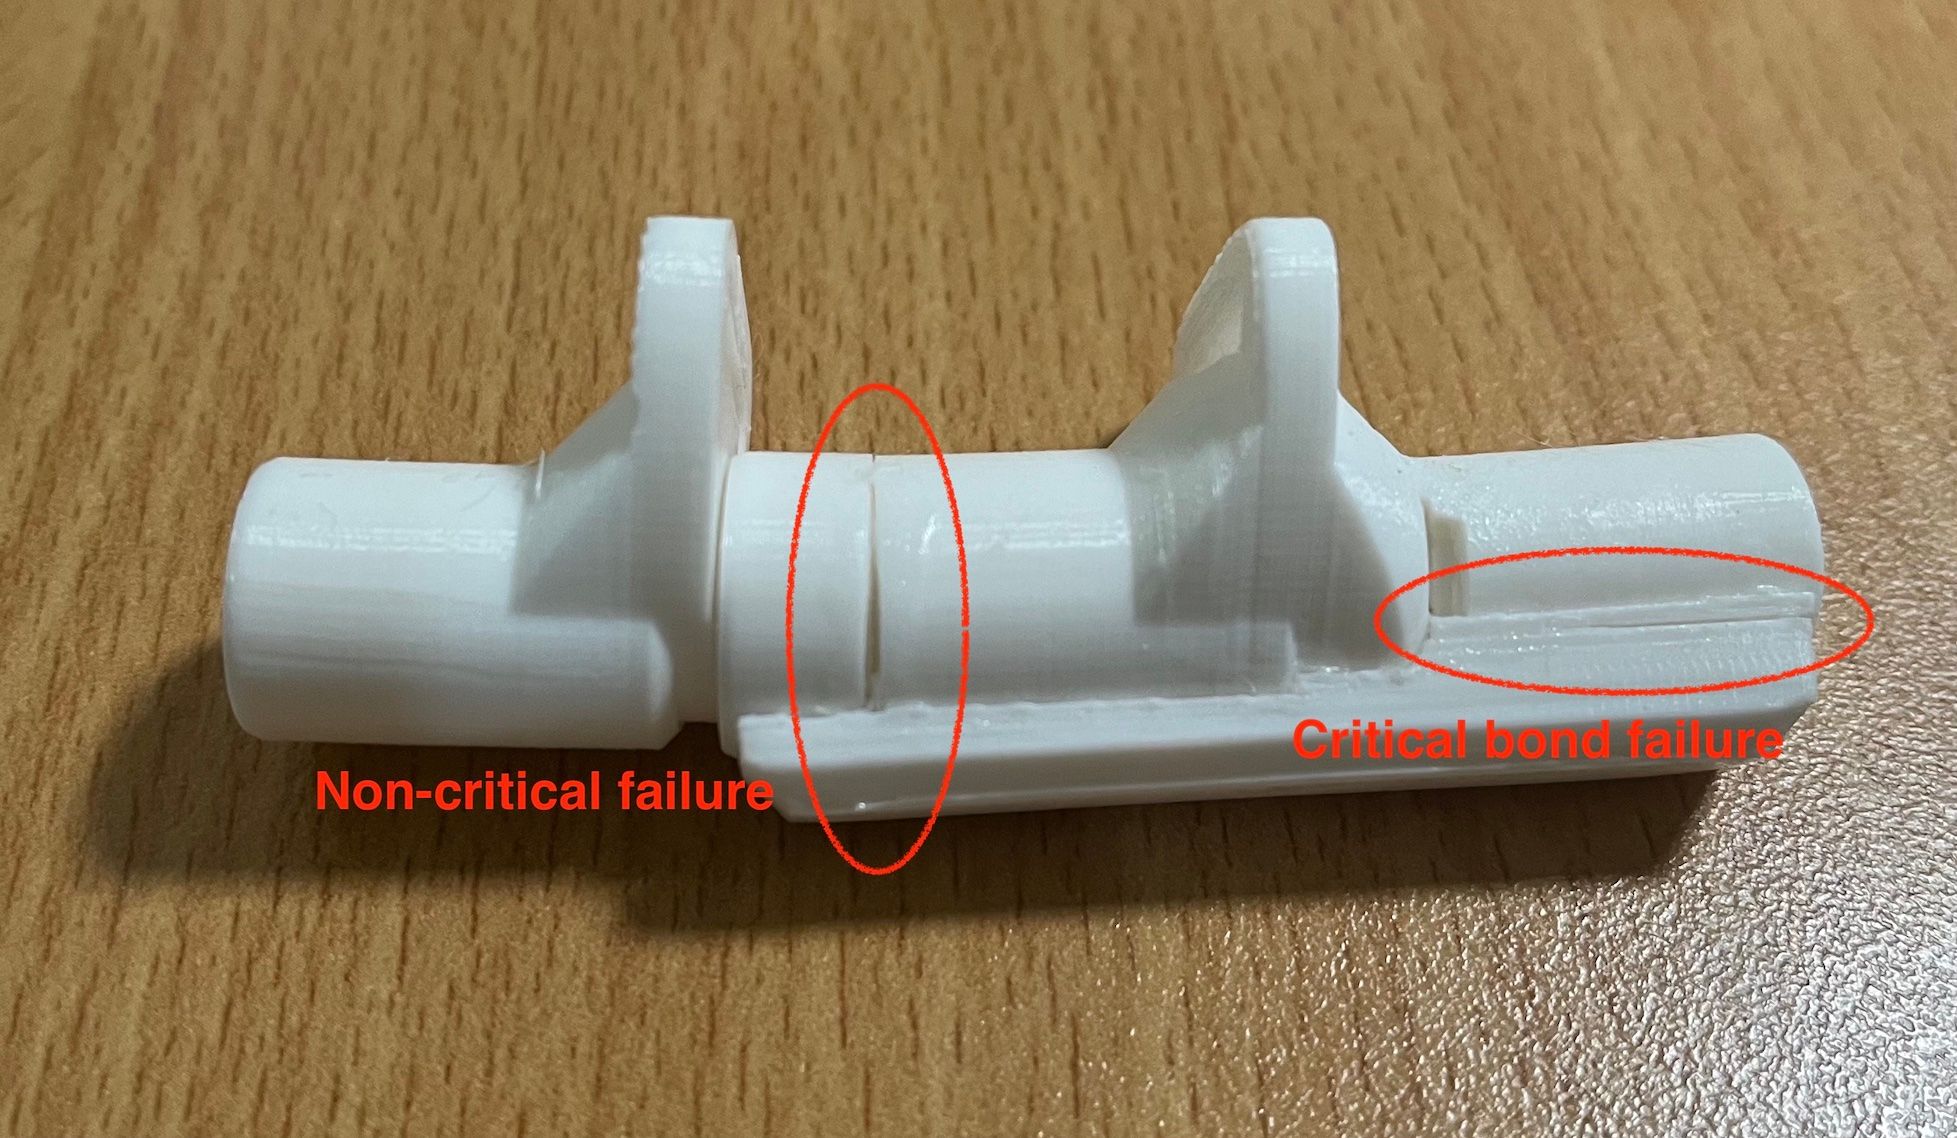
I've added an sight window at the top so you can verify rod insertion (inadequate insertion was the cause of one of the two original failures). And gusseted the heck out of the point where the rods meet end to end (the location of the second, more critical original failure). I also added a non-destructive method of installing the tent strap that doesn't add a weak point and generally just beefed the dimensions up.
The new chunky bois are ready for a test run.
Let's give them a whirl.

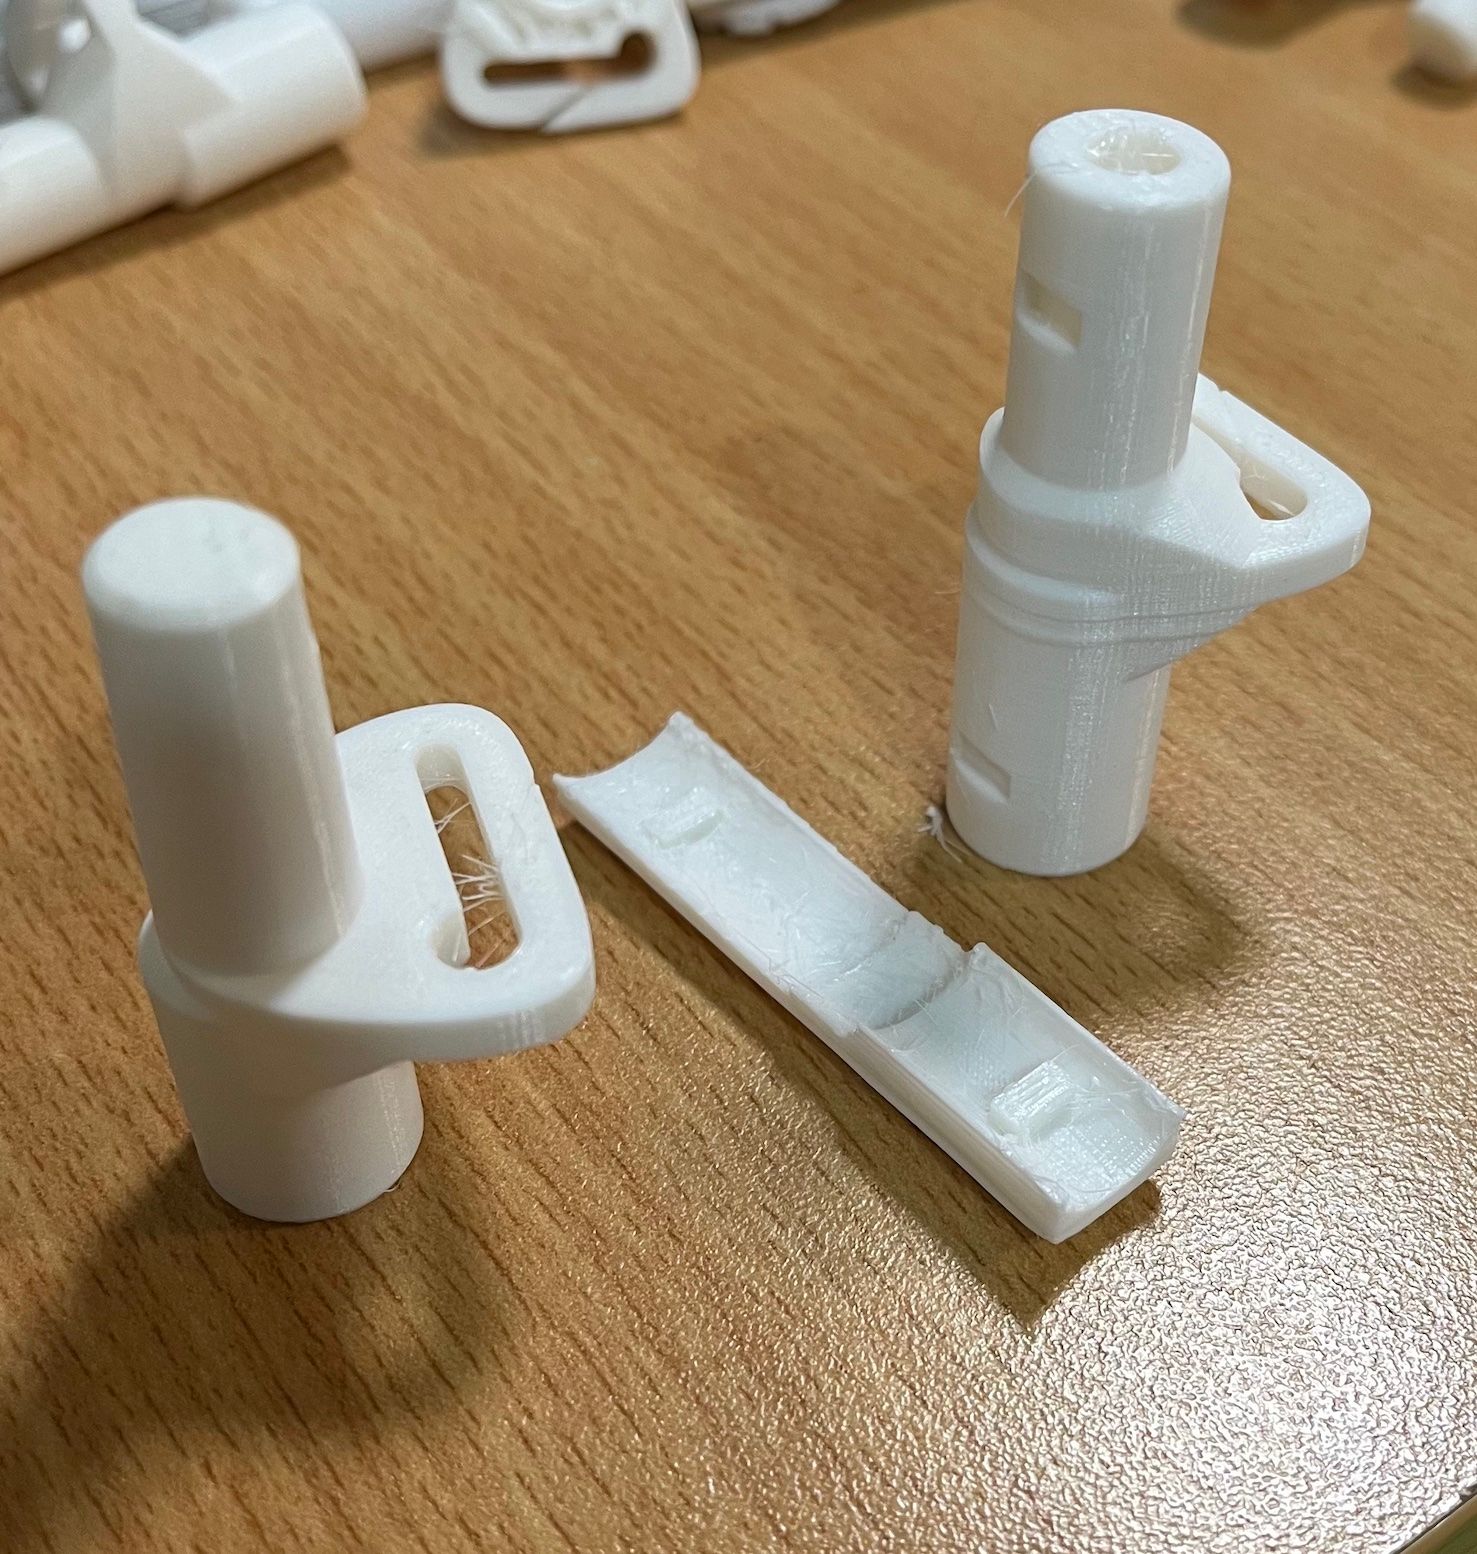
Ah! I found the limit of this design pretty quick. Seems we have a layer adhesion weakness.
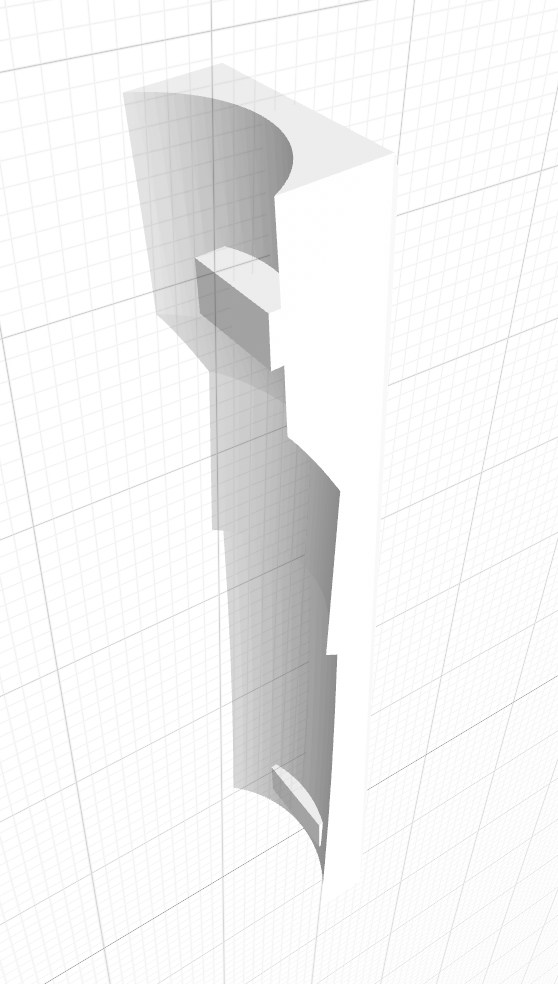
I know, let's add a splint, and print it longitudinally!
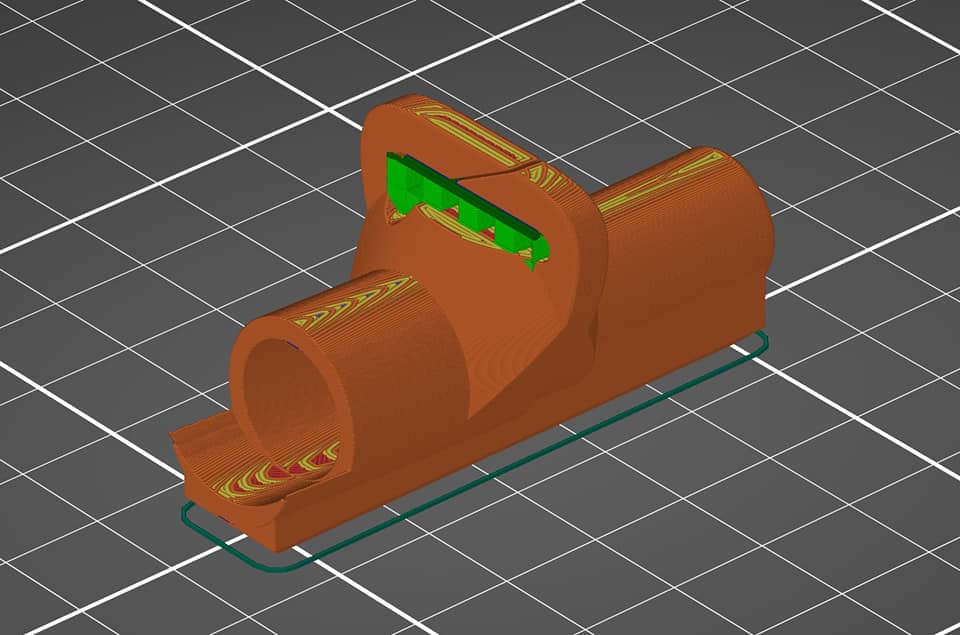
Can't split at a layer if there's no layer there to split, right?
Oh.
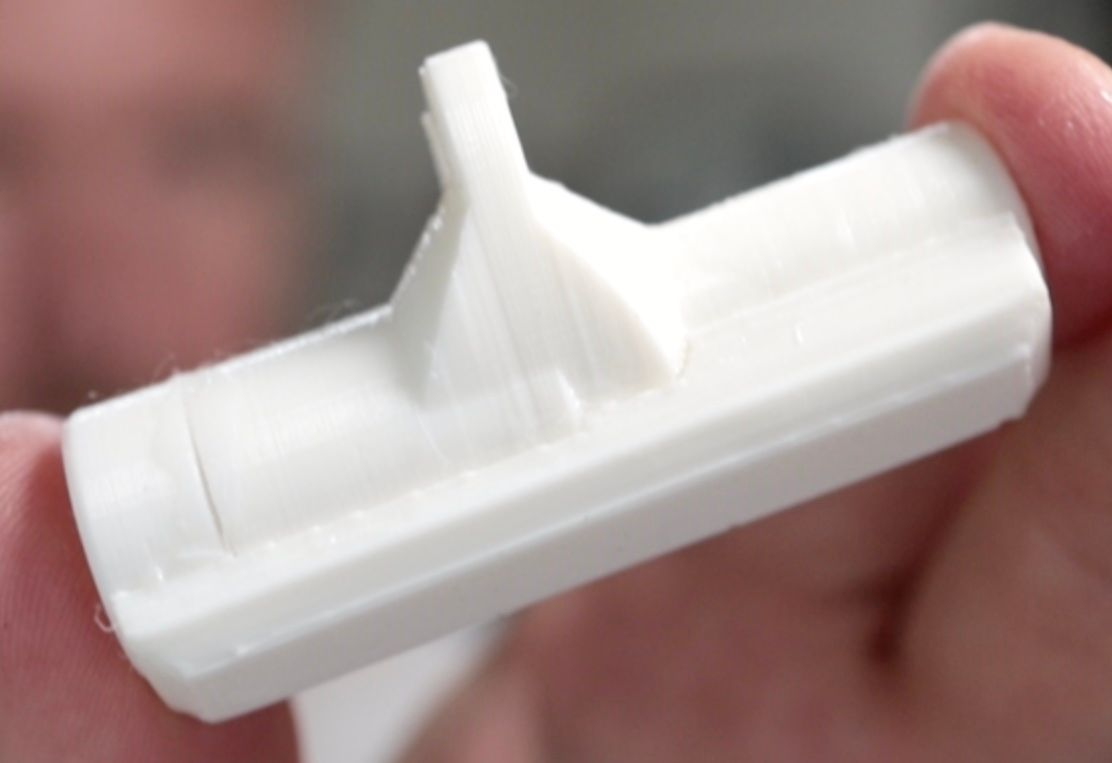
Okay, we can get rid of the gusset that interferes with assembly. That's easy. But can I get the benefit of the splint without just shifting the layer adhesion weakness?
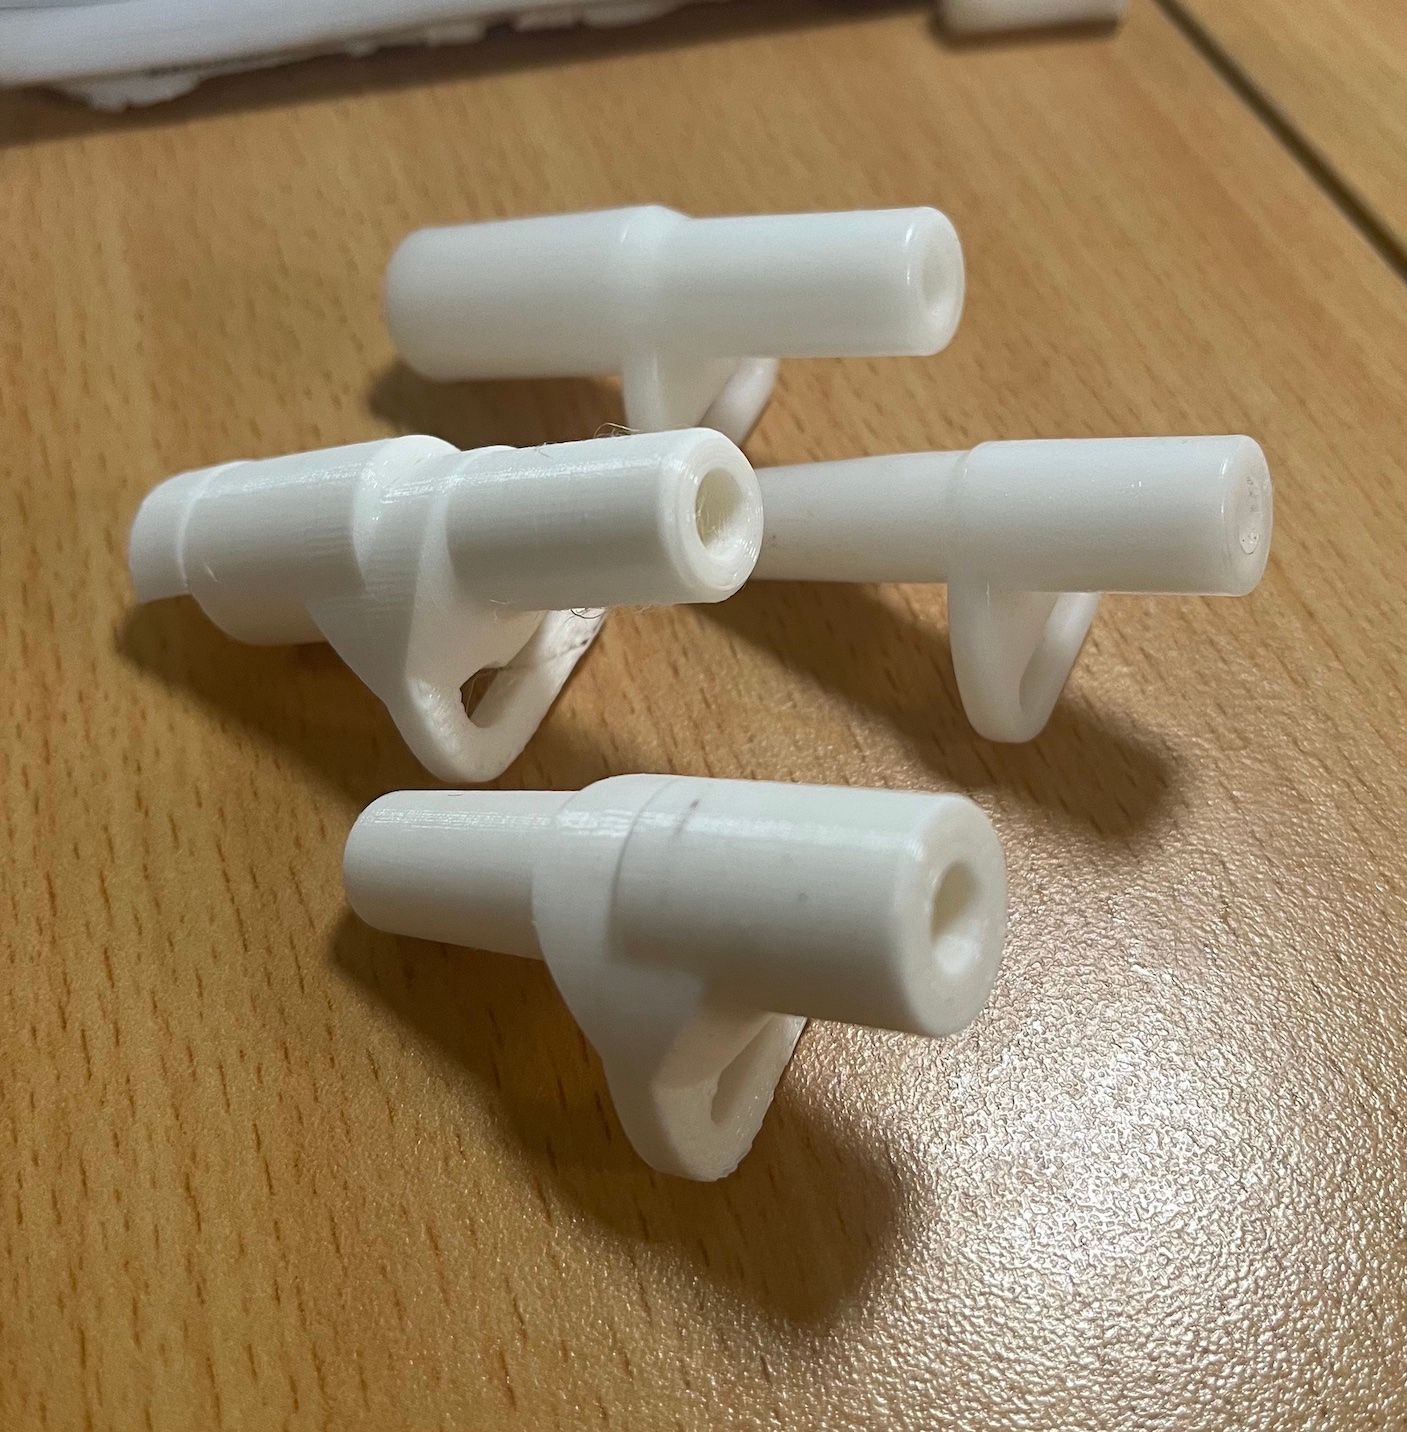
Let's try... plyPLA! What if we adopt the benefits of the criss-crossed grain in plywood, and apply it to additive manufacturing?
Now, in theory, I have longitudinal strength along the splint and transverse strength in the tubes.
Let's laminate!
Check out this ethyl 2-cyanoacrylate bond. Aka, "super glue". Even though cyanoacrylate is not recommended for polyethylene and polycarbonate plastics, I've found it works wonders on PLA. Not so on ABS I've heard.
Please ignore the fact that I cracked the tube a little pushing the pieces together, smh.
What we really want to know is... does it work? The moment of truth (sound on!):
That awful snap you heard at 00:24 was the aforementioned crack giving way. But more importantly, even with that section compromised, the structure held! This is dramatically better than the first two attempts, both of which were incapable of holding the rod in place under the natural spring tension.
After I stopped recording I went ahead and stressed it to failure. Ultimately it failed at another manufacturing fault - due to the stringy print there was a gap between the splint at the thinner tube, too wide for the glue to create a bond. The two parts simply pulled apart. These are all easy fixes.
Let's go around one more time shall we? These 1000 odd words actually represent quite a few educational trips around the model-slice-print loop, learning new modelling techniques and some practical tolerance tricks. The 3 or 4 hour design/test loop of 3D printing is super addictive - the fast create/experiment/learn cycle has the nearly the feedback thrill of programming.
But I think I've extracted just about all the learnings I can from this little exercise, and $50 invested in a new tent has always been the right solution. Even a promising prototype is barely half way to something I'd actually trust not to leave us stranded with a tent-cum-kite on a hot and windy beach, while kids and a wife lose sight of the spirit of adventure. But I find problems far more interesting than solutions. Besides, we can't just leave things unfinished, can we?
And viola. The final design, with dozens of prototyping-informed details.

And the tent? In the bag. Piece of cake.
Just kidding...
I got the tent in the bag alright, but not before I broke every one of the ends. It turns out that not only do the ends need to resist intense concave bending forces, but during the packing process the rods form a figure-8, which applies a maximal convex bending force right at the rod ends. My splint-equipped rod ends performed admirably during the concave bend, but at soon as the force flipped around to the side of the end without the splint - they snapped clean in two. A fine illustration of the importance of defining requirements before you leap into design, if learning is not your primary objective.
So the design principle still has merit - plywood applies multiple layers of alternating grain. I'm sure with another split or two (or five or six) my rod ends would be up to the task.
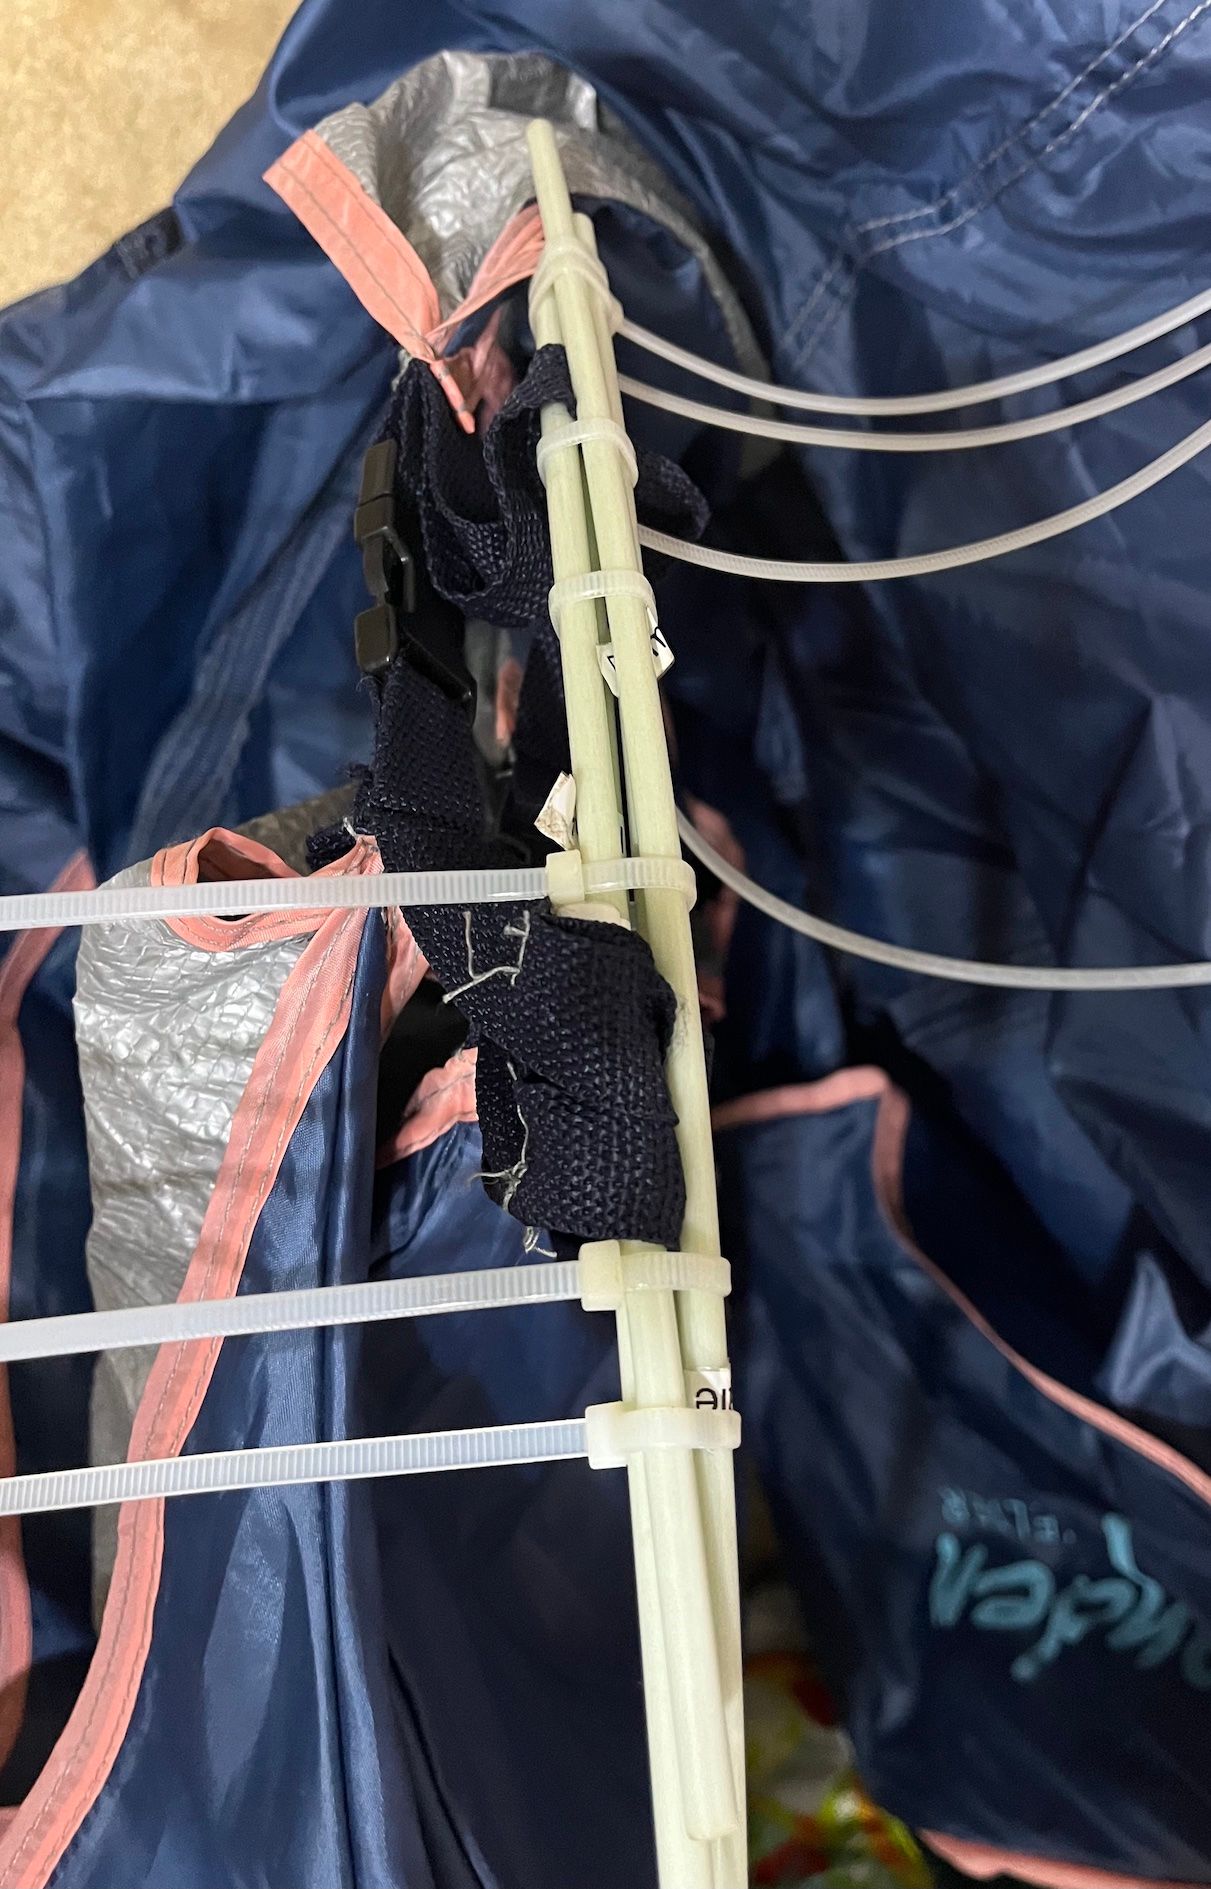
But I'm also sure that these half dozen load spreading cable ties will do a fine job of holding the whole contraption together long enough for me to transition it to the natural resting place - land fill.